Making beer is the fun part. Now comes the work, you must package it. The last detail remains, priming the beer; that is adding a bit of sugar at packaging so the yeast can create CO2, your bubbles. What is the best method, carbonation drops, add sugar directly, or other?
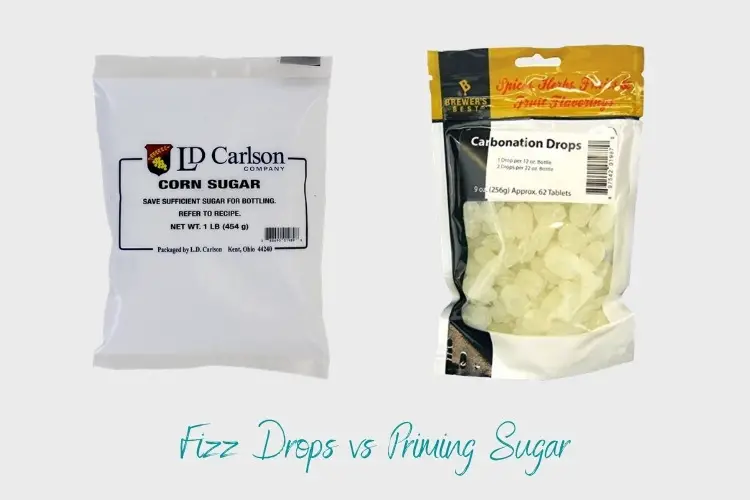
Corn sugar (dextrose) and fizz drops are your two main options for priming beer. Corn sugar is cheaper, takes more work, but adds flexibility. Fizz drops are fast, simple, but inconsistent and a bit expensive. Dextrose is recommended for priming.
Where Do the Beer Bubbles Come From?
Beer and bubbles go together like pancakes and syrup, chips and salsa, popcorn and movies.
You get the idea.
They are inextricably linked.
Many have drunk from a hand-pumped keg one, two, even three days after the party- why is there beer left? – and aside from possible sour flavor, it is flat, lifeless; simply not beer anymore.
Commercial Carbonation
There are some commercial brewers who carbonate naturally, and condition in the bottle.
This is now the exception not the rule.
It is more difficult to control, and the beer may be more susceptible to temperature changes.
Instead, brewers will use a long ceramic or stainless-steel carbonation stone.
The stone is porous and when attached to the tank through an outer port of the packaging tank, you may inject CO2 into the beer.
The stone breaks the gas into thousands of tiny bubbles, which at the proper temperature (ex. 32° F / 0° C) combined head pressure (pressure within the tank) the CO2 is absorbed, and you have beer with bubbles.
Carbonation at Home
One method is adding what is called priming sugar.
A consistent choice and the sugar I recommend is dextrose or corn sugar.
We call it priming sugar because of the action, not the sugar itself, any sugar could be used, but because of why we use it.
To prime is to add to gain a desired effect.
We prime the pump to draw water- the pump must hold water so as to draw or siphon it, the effect.
We prime beer to create bubbles.
The amount is flexible, and I recommend erring on the side of caution.
No products found.
On a brief side note, you could use table sugar (sucrose – cane sugar) or brown sugar (cane sugar mixed with a little molasses) for priming. Sometimes we run out of primer and need something at the last minute.
Priming Sugar, 3 Methods for Homebrewers
Method 1: Adding dissolved sugar to the bottling bucket

This gave me the best results.
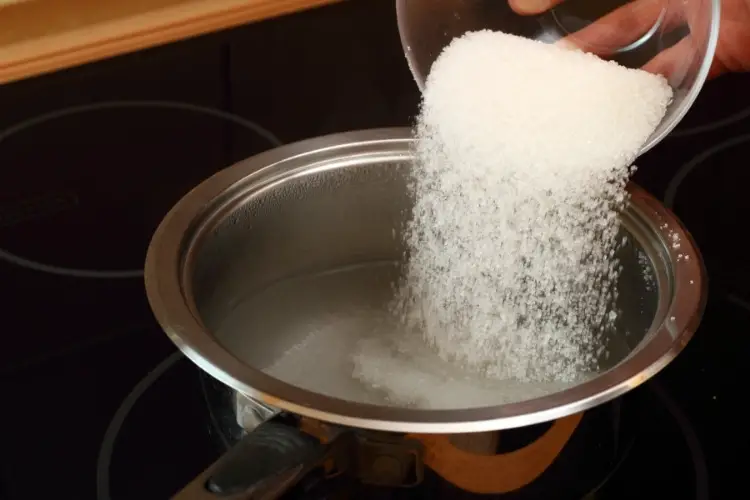
- Dissolve a ¾ cup of sugar in a ½ pint of hot water.
- Boil 5m. or long enough to sanitize the water.
- Set aside to cool in a sanitized Pyrex cup.
- Rack finished beer from secondary to bottling bucket.
- Add sugar and stir thoroughly but gently.
- Stir about every 8 bottles to keep the sugar evenly distributed.
No products found.
The Pros
- Sanitary
- Consistent, you can control the amount
- About $3.50. Enough for at least 150 bottles. If you buy 10 lbs. it is even cheaper.
- Rack the beer one extra time; adds clarity
I cannot believe it though, when I was a homebrewer, corn sugar was about 75 cents a pound! There must be a corn shortage.
The Cons
- Takes more time to prepare, boil, and clean your work area.
- Rack the beer one extra time; adds time and cleaning to the process. We recommend this anyway, but some are time conscious more than others.
Method 2: Use Fizz drops / Carbonation drops

Fizz drops (also called carbonation drops) are pre-measured, pre-formed lumps of sugar you may drop directly into your bottle before bottling.
- Drop one capsule into each sanitized bottle.
- Fill each bottle as you normally would.
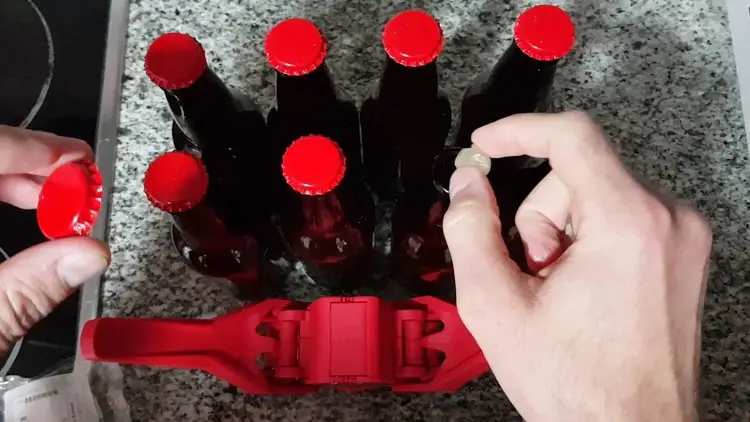
- Cap the bottles, take a break.
The Pros
- On the surface this is the easiest, one drop, one bottle.
- Fast and simple
- Less racking time: skip the bottling bucket altogether
The Cons
- They can be inconsistent. Varying sizes, too big for some bottles.
- Inconsistent degree of bubbles, too much, too little
- A little longer to process because the beer must dissolve them; they are rock candy made of maltose, sucrose, or dextrose.
- They can stick together in storage.
- You must guarantee sanitary storage between brews.
- Higher cost about $6.00 for 60 bottles.
We have used these, and as detailed above, very easy, yet inconsistent carbonation.
Method 3: Add granulated sugar directly to the bottle

This is a dated method, inconsistent at best, dangerous at worst, so I will not even want to tell you how much to add!
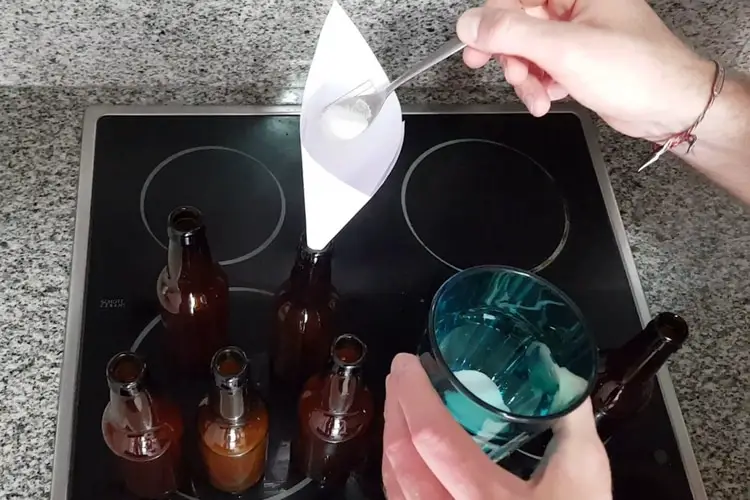
- Add a small amount of raw sugar to each bottle.
- Put too much in some bottles, add too little to others.
- Spill a lot flipping sugar in the kitchen causing an ant problem.
- Some bottles will explode, some will be flat.
I am joking around, AND this is what you will experience when you practice Method 3.
Priming kegs and other Natural Carbonation Methods
Priming kegs
This is a little different, still easy enough to do.
Most homebrewers utilize old Coke or Pepsi kegs, replace all the rubber gaskets, and use them for homebrew draft systems. They are easy to build and fun.
When priming a keg, you must NOT use the same amount of sugar for priming bottles.
I recommend adding about one-quarter to one-third cup of sugar for carbonating five gallons of kegged beer.
The reason is related to the volume of beer relative to the amount of headspace in the vessel. Since the keg has higher volume, less surface area and headspace, we simply use less sugar.
A couple of times a year at the brewery, if it was a special or something that I wanted to age out, I would rack off into an old Hoff-Stevens style keg directly from the tank. These kegs were filled by a large 3” hole in the side and plugged with a wooden bung.
I dropped in about ½ cup of Candi Sugar to prime 15.5 gallons of beer.
I weighed dextrose and then weighed a corresponding amount of Candi, using the high-quality rock candy to actually prime. It was inexact and it did not matter much at the time.
I would age it for 3-6 months and then bring it to a party. It approximated the cellaring process in a crude way.
Only one keg became oxidized, developing a distinct cardboard aftertaste. Otherwise I had good luck with it.
Natural Carbonation
If you are quite experienced, you can skip the sugar step altogether.
Bottle your beer while the gravity is still dropping.
This is an advanced technique yet reachable with a little practice.
Many brewers favor one yeast among others. They also favor certain styles over others.
For example, you use an English Ale yeast and brew a lot of Pale ales. Your OG (Original Gravity) is usually 1.042 – 1.048. Your FG (Final Gravity) is usually 1.008 – 1.012, like clockwork. It always takes about 14 days to reach this terminal gravity.
You learn how your beer will behave.
Certain English yeast strains are notoriously consistent.
You will get a 75-80% attenuation rate. (the percentage of sugars converted to alcohol during fermentation).
During secondary fermentation, the beer has calmed down and most yeast has flocculated (rested on the bottom) for a long nap.
The beer will still be hazy and have millions of cells in suspension.
Take a gravity reading.
If your beer is 1.014 – 1.016, and you expect a 1.010 or 1.012 FG, gently rack it, and bottle it.
The natural sugars left in the beer will give the proper amount of bubbles.
They will increase over time as the beer ages.
There could be a little more sediment. Simply decant and be extremely pleased you are creating what is most closely approximated as Real Ale.
This technique would be especially suited to kegging beer.
You can sample as you go, and if the beer gets to the carbonation level you like, refrigerate it for storage and the yeast will go to sleep. The yeast will rest on the bottom and be drawn out from around the draft spear in the first glass or two and Voilà, clear beer.
In the End, You Decide
As with all things in homebrew, do what feels right for you.
I believe corn sugar is the best method for priming, more labor-intensive, easy to control, and cheaper.
Fizz drops are ultra-convenient, fast and no-nonsense. They are more expensive, inconsistent due to size, and may become sticky.
Carbonating beer is a routine and can require artisanal skill. Take your time. It will likely take years to master all of the techniques and methods.
That is not the goal here.
Find the things that are comfortable for you and are specifically suitable to your priorities. Take each new method and neatly fold it into your next session. Your beers will become better and better.
Becoming even a journeyman brewer is no easy feat.
Last update on 2025-04-01 / Affiliate links / Images from Amazon Product Advertising API

