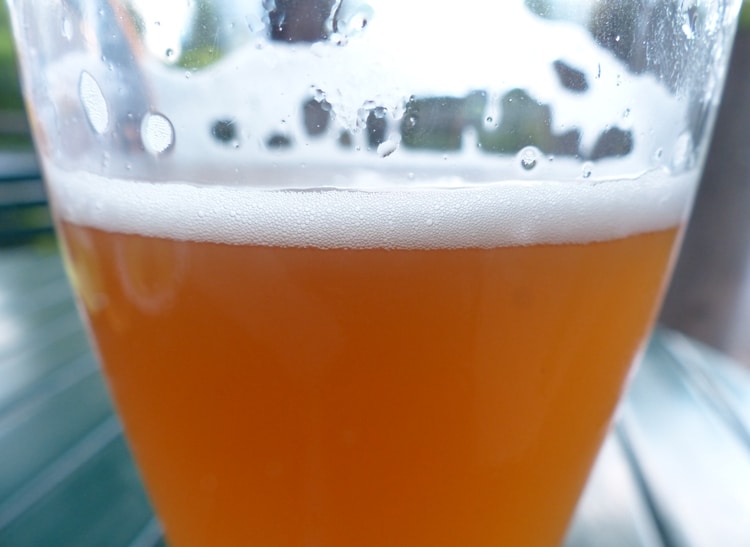
India Pale Ales are generally characterized by the flavor derived from the hops.
This often measured in IBUs or International Bitterness Units.
While the bitterness in an IPA is derived from its hops, brewers are getting very good at drawing the true flavors out of the hops that give it a distinct “hoppy flavor” that can be discerned separately from the overall bitterness.
The hops are giving this particular taste to IPAs
When talking about “hoppiness” in an IPA, you’re going to be discussing the true flavor that is imparted by the hops themselves.
The IBUs of a beer don’t necessarily directly correlate with the hoppy flavor.
A beer with high IBUs will always be bitter, but it won’t always be really hoppy.
Conversely, a beer can have lower IBUs and a distinct hoppy flavor.
This has a lot to do with the types of hops used and at what point in the brewing process the hops are added.
A Wet Hop IPA, for example, can be a lot more hop-forward by using fresh hops. Session IPAs also tend to be lower in IBUs, yet higher in hop flavor due to how they are brewed.
Generally, hoppiness is used to describe the earthy, sometimes even grassy or piney aromas and flavors that come from the actual hop.
Together, the hoppy and bitter combination works beautifully and creates the lovely taste profile that we love so much about an IPA.
Today, the India Pale Ale has been fully let out of its box. Craft brewers have been having fun and learning to brew the style in new and creative ways.
While IPAs can still be characterized mostly by their use of an abundance of hops, the flavors have become more complex and varied.
1) English IPA
We begin with the one started it all, the old India Pale Ale from England.
Less common in America today, the English IPA uses exclusively English varieties of hops and is usually grassy and earthy with a hint of citrus.
It will usually be a golden brown in color and have a very dry finish with ABV between 6-7%.
Examples: Three Floyds Blackheart, Sixpoint Bengali IPA
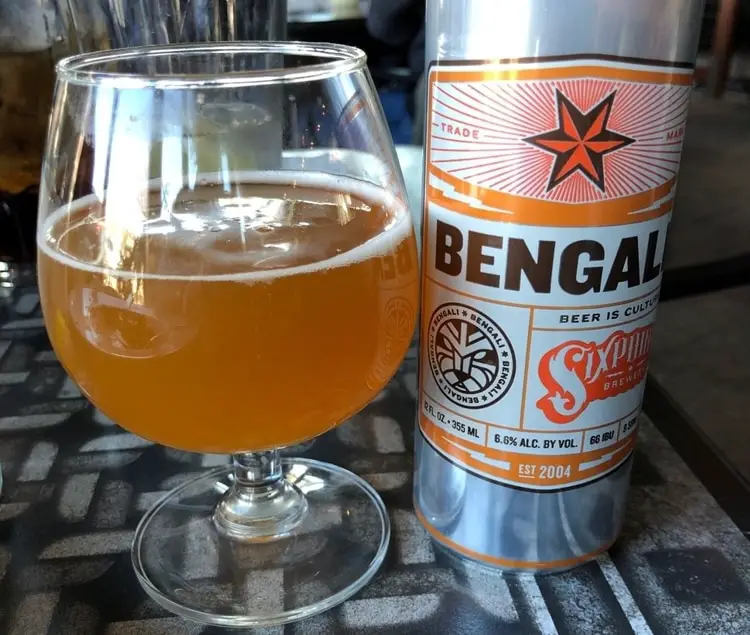
2) West Coast IPA
The West Coast IPA stays closer and truer to the English IPA than many other styles, but it uses American varieties of hops and often infuses some bolder flavors.
Often using Citra, Chinook, or Cascade hops, these are notoriously bitter and citrusy beers with fantastic earthiness and piney aromas.
If you consider yourself a real “hophead”, you will probably love a good West Coast IPA.
These beers will often be labelled simply as IPAs, as this is basically the truest original American IPA.
Examples: Green Flash Palate Wrecker, Ballast Point Sculpin IPA
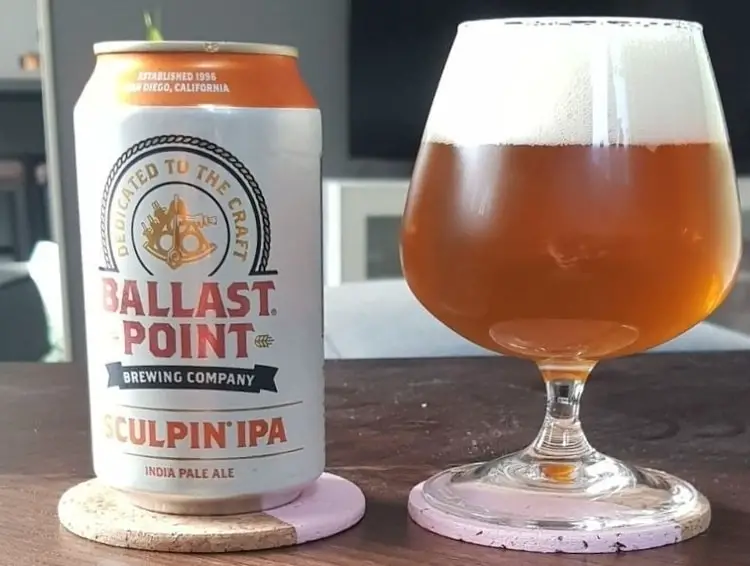
3) Imperial IPA
In true American style, the evolution of the IPA continues to go bolder and more aggressive with the development of the Imperial IPA.
Stronger and more bitter, with loads more hoppy flavor, doubles, triples and imperials are basically amped up versions of the West Coast IPA.
Usually the alcohol content is higher as well, often in the 9% to 13% range.
These beers will continue with the trend of heavy punches of dank, earthy, flavor from the “big C” hops and subtle piney and citrusy finishes.
Examples: Three Floyds Deadnaught IPA, Stone Ruination IPA
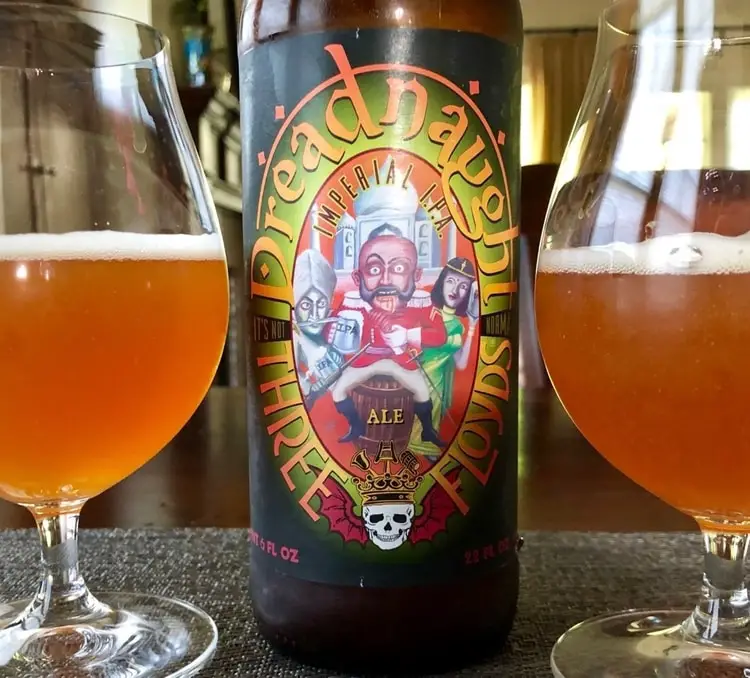
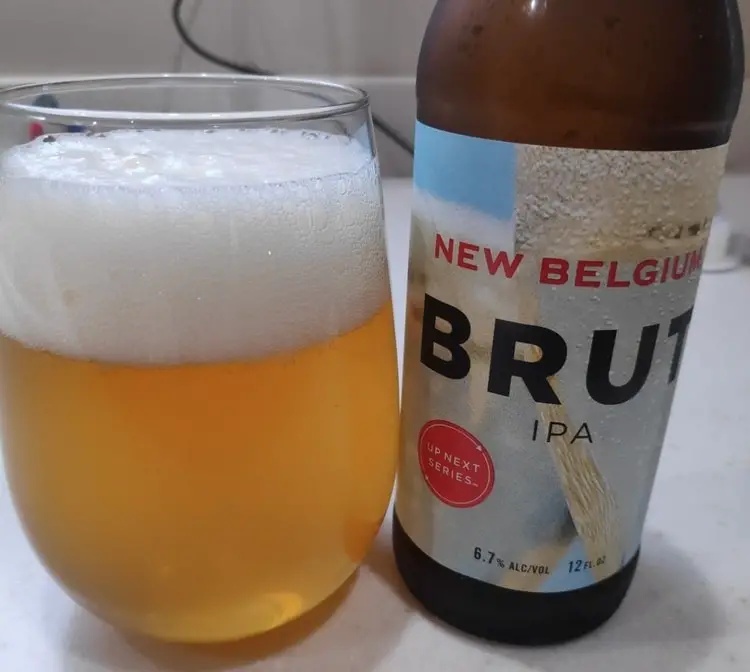
4) Brut IPA
This is the real champagne of beers.
In the world of wine, Brut means very dry.
This extremely dry, very crisp, almost wine-like IPA is created by using a unique enzyme called amyloglucosidase that used to be used only in stouts.
Brut IPAs tend to be very light in color and have an appearance that is similar to a glass of chardonnay or champagne.
This isn’t a favorite style of mine, and certainly one of the less common styles of IPA, but it could make a good intro beer for the wine lover.
Examples: Sierra Nevada Brut IPA, New Belgium Brut IPA
5) East Coast/New England IPA
On the East Coast, the hops tend to be a little more subdued than in West Coast IPAs.
Using more complex varieties of yeast, brewers are able to coax out hints of tasty flavors such as banana, tropical fruit, and citrus.
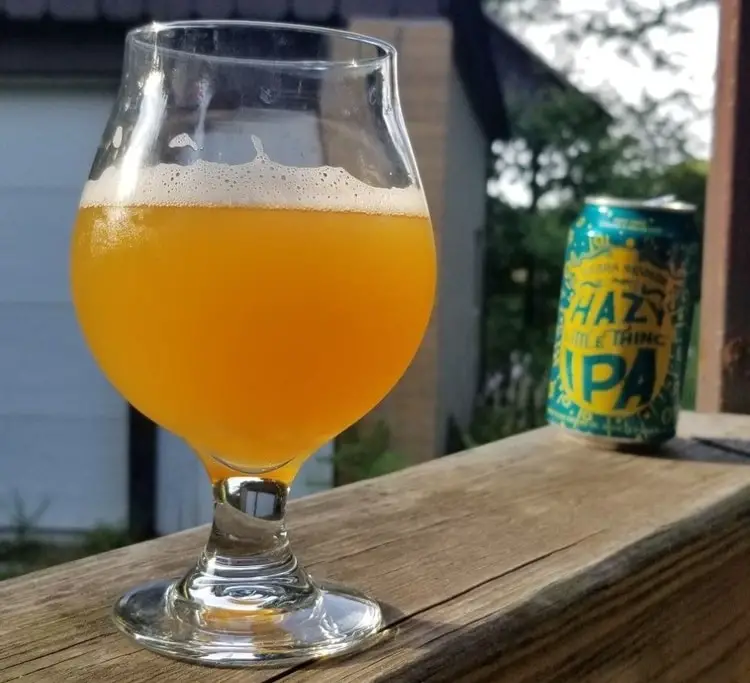
The NEIPA or New England IPA tends to be very juicy, hazy and smooth with a lower hop profile.
You’ll love to enjoy a nice and cloudy New England IPA on a hot summer day by the pool or at the beach.
Examples: Sierra Nevada’s Hazy Little Thing, Blue Point Hazy Bastard IPA
6) Milkshake IPA
A popular spinoff from the New England IPA that deserves some note is the Milkshake IPA.
These are gaining popularity, much to the chagrin of some hop-purists but to the delight of lovers of light, creamy and flavorful beers.
These are very full-bodied beers that pour opaque in the glass.
Infused with lactose, unfermentable sugars, and flavors such as pineapple or vanilla, these can be very exciting and tasty.
Examples: Edmond’s Oast Pineapple Milkshake IPA, Westbrook Peach Milkshake IPA
7) Rye IPA
Unsurprisingly, the Rye IPA is characterized by its use of one ingredient.
Adding rye to the malt gives a unique tangy or spicy flavor profile and helps to enhance some of the natural pine and citrus in the hops.
Much like a good rye whiskey, these beers are bold in flavor and are for a very select beer drinker.
Examples: Sierra Nevada’s Ruthless Rye, Magic Hat Ticket to Rye IPA
8) Session IPA
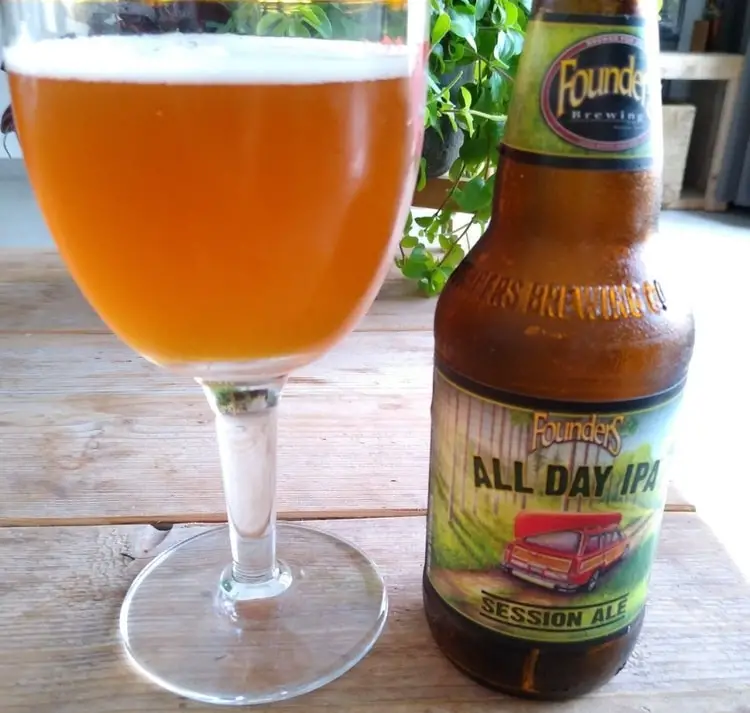
The session IPA is a milder brew, characterized by an ABV of less than 5%.
This beer is often considered to be a brewer’s beer, as they could sip on this flavorful beer while brewing all day without getting drunk.
In addition to be lower in ABV, sessions are usually lighter in body.
Sessions are still heavy on hop flavor with a stronger malt character.
Examples: Founder’s All Day IPA, Sierra Nevada Nooner IPA
9) Black IPA
The black IPA is a less common variety of IPA.
It appears to be an attempt by brewers to create an IPA that resembles a stout.
It rarely really accomplishes this but tends to land somewhere in between West Coast IPA and a porter, with a toasty malt character and a medium-to-high level of hops.
The black IPA can also be referred to as a Cascadian dark ale because of the cascade hops that are used.
Examples: Frostbite Black IPA by Foothills, Black Perle by RJ Rockers Brewing
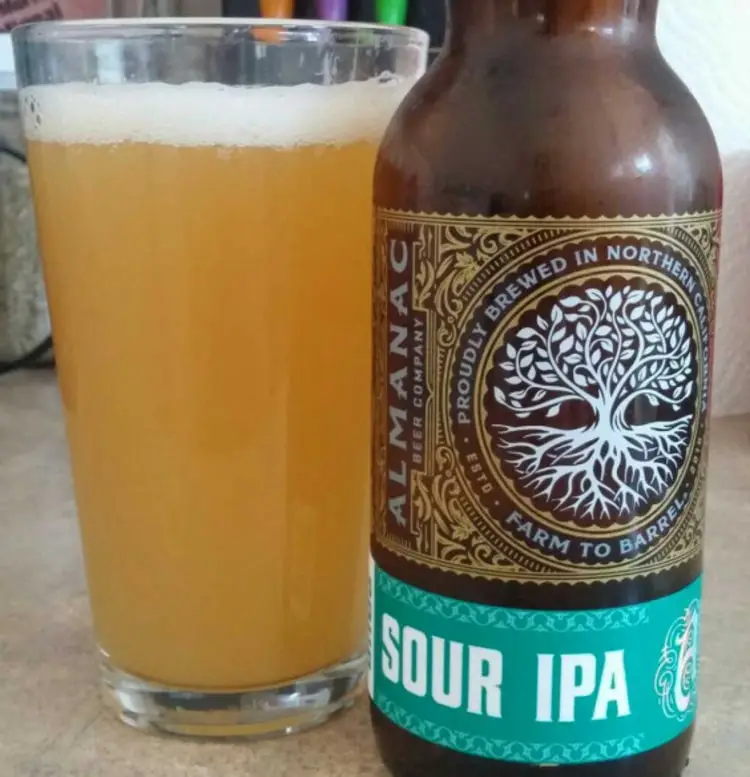
10) Sour IPA
Sour IPA is not a clearly defined style of IPA, but is starting to come into it’s own as the popularity of sour beers skyrockets.
The sour flavor is mostly imparted by the addition of lactobacillus, a microorganism that causes the beer to go sour in just the most pleasing way.
Often, barrel-aging or the addition of lactose, vanilla, or fruit adds some additional flavor to these tangier IPAs.
Examples: Almanac Sour IPA, Eight State Forever Sour IPA
11) Belgian IPA
Belgian beers are popular in their own right, and the Belgian IPA is no exception.
These ales apply some of the usual hoppiness of an American IPA, but also impart some flavors that are more distinct in Belgians.
These are often bottle-conditioned beers brewed with Belgian yeast varieties that give a pronounced crisp, dry finish and hints of clove. Belgian IPAs tend to be cloudy, with a very billowy head, and higher in ABV.
Examples: Stone Cali-Belgique IPA, 3 Floyds Live a Rich Life
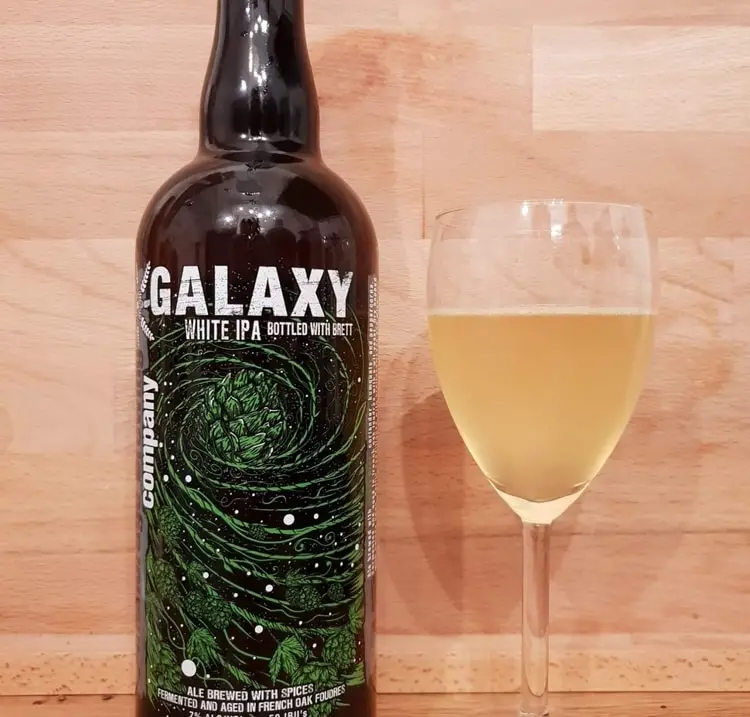
12) White IPA
The white IPA is basically a mashup of an American IPA and a Belgian Whit.
It was born of a collaboration between Boulevard Brewing and Deschutes.
Out of this, a whole style has developed as other brewers have followed suit by brewing White IPAs.
These tend to have mid to high carbonation, high bitterness with a lower hop profile, and often feature grapefruit, orange, apricot or banana flavors.
You’ll get pleasant aromas of coriander as well as fruit or citrus.
Examples: Anchorage Galaxy White IPA, Lagunitas a Little Sumpin’ Sumpin’ Ale
13) Fruited IPA
As the name implies, the fruited IPA is describing hoppy beers with the addition of fruit. This is more of a category than a specific style of IPA.
The bitterness of the hops in an IPA is balanced wonderfully by the flavors of fruits such as grapefruit, lemon, apricots, peaches, or virtually any fruit.
Often, the hops themselves impart hints of pleasant citrus flavors which complement the other fruit additions nicely.
Examples: Dogfish Head Aprihop, Ballast Point Grapefruit Sculpin
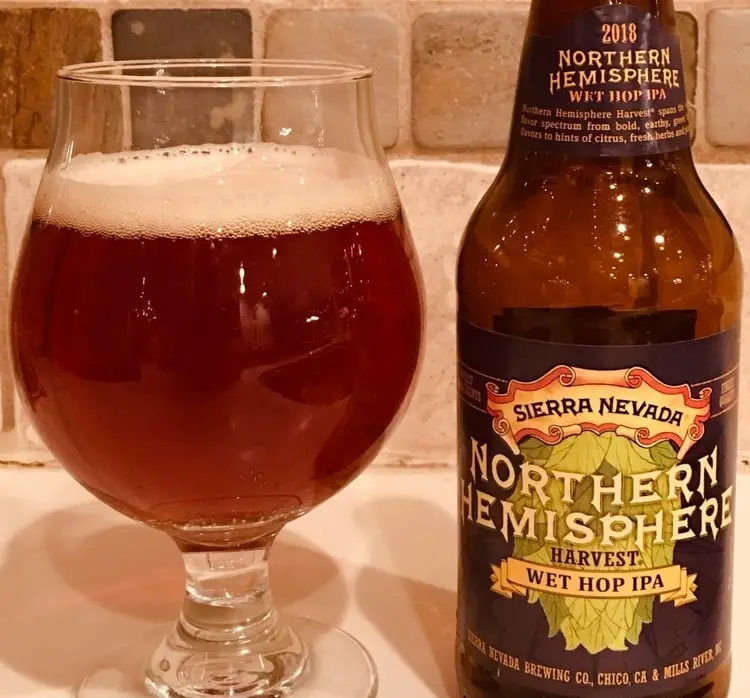
14) Wet-Hop IPA
Wet Hop IPAs are seasonal by definition because they must use fresh, unprocessed hops, right off the vine.
Usually, hops are harvested in August or September and immediately dried and pelletized to be saved for use in brewing year-round.
The use of fresh, wet hops is a great seasonal treat.
The hops are able to retain a little more of their true flavor when used fresh.
These beers tend to be less bitter, but more hoppy.
Examples: Sierra Nevada Harvest Wet Hop IPA, Lagunitas Wet Hop IPA
15) Dry-Hop IPA
It isn’t really a style of IPA, but most IPAs use dry hopping methods to elevate the taste of hops in beer.
With dry-hopping, the hops are added in the fermentation stage of the brewing process.
Those hops usually bring aromas and grassy or herbal flavors to a beer.
This process has developed some nice IPAs that exert some lovely hoppy flavors and aromas, while not blasting the palate with bitterness.
Examples: Bell’s Hopslam, Dogfish Head 90 Minute IPA
